


Movavi video editor has a auto-subtitling caption hidden in the interface.
How do you use this option in Movavi without wasting hours?
In this guide, you’ll learn exactly how.
Yes — Movavi does offer a built-in auto-subtitling tool.
This feature is part of Movavi Video Editor Plus (from version 2022 and up).
Movavi’s auto-subtitle feature listens to your audio and creates subtitle lines automatically. Here’s what it can do:
It’s available under the Tools section in the main editor. Once you select your clip, you can choose “Subtitles” > “Auto Subtitles”, and Movavi will begin analyzing your video.
After a short processing time, the subtitles appear as editable text blocks on your timeline.
Here's a step-by-step guide to using this tool:
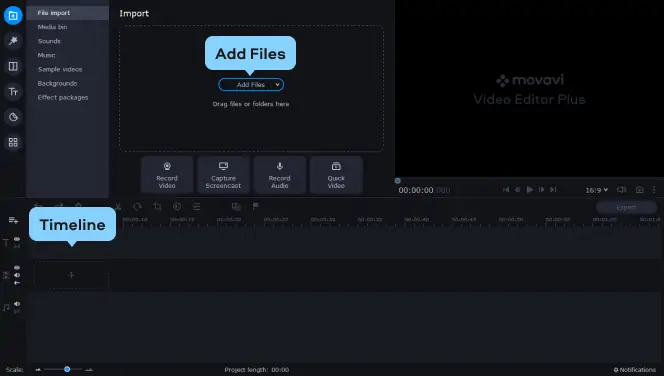
Begin by downloading and installing Movavi Video Editor on your computer. Once installed, open the application to start your project.
Click on Add Files and select the video you wish to subtitle. Drag and drop the video onto the timeline to prepare it for editing.
Select your video on the timeline, then navigate to More Tools. Under the Audio tab, click on Auto Subtitles. The software can automatically detect the video's language, or you can manually set it from the Clip Language dropdown menu. Click Generate and wait for the subtitles to be created.
Once generated, you'll see the subtitles under the Phrases tab. Here, you can edit the text for accuracy. Switch to the Design tab to customize the appearance:
These customization options ensure your subtitles align with your video's style and branding.
After finalizing your subtitles, click on Export. Adjust the output settings as needed, then click Start to save your video with embedded subtitles.
Already have a subtitle file ready? Good news — you don’t need to type everything again.
Movavi makes it easy to import subtitle files and add them to your video.
In the Video Converter, click “Add Media” > “Add Video”.
Choose the video you want to add subtitles to. Once it loads, it will appear in the conversion queue.
Next, click the “Edit” button next to your video in the list.
Go to the Subtitles tab in the editing window.
Now click “Add” and select your subtitle file. Movavi supports several formats:
.srt.ass.ssa.smiYour subtitles will be linked to the video. You can preview how they appear and adjust the sync, position, font, and color right from the editing panel.
If you want fast, accurate subtitles without the manual hassle, Checksub is your best ally.
Instead of typing everything yourself or relying only on Movavi’s built-in tool, Checksub gives you a full-featured, AI-powered platform to handle subtitles from start to finish. You’ll save time, reduce errors, and export clean .srt files that work perfectly with Movavi.
Here’s how to do it.

Head over to checksub.com and log into your account.
Click “Upload Video” and choose your video file. Checksub supports most major formats, including .mp4, .mov, and .mkv, so you won’t need to convert beforehand.
After upload, select the original language spoken in your video. If you want subtitles in other languages too, you can add those later using Checksub’s translation feature.
Checksub’s AI will immediately start transcribing your video.
Within minutes, it will:

Once the transcription is complete, you can open the Checksub editor.
Inside the editor, you can:

When you’re happy with the subtitles, it’s time to export.
Choose .srt as the format — this is fully supported by Movavi Video Converter.
You can also choose embedded export if you want to hardcode subtitles directly into your video.
Want your subtitles styled? Checksub lets you tweak font, size, color, and background — useful if you plan to burn captions into the video later.


